How We Made Thick Floating Shelves: DIY Mastery
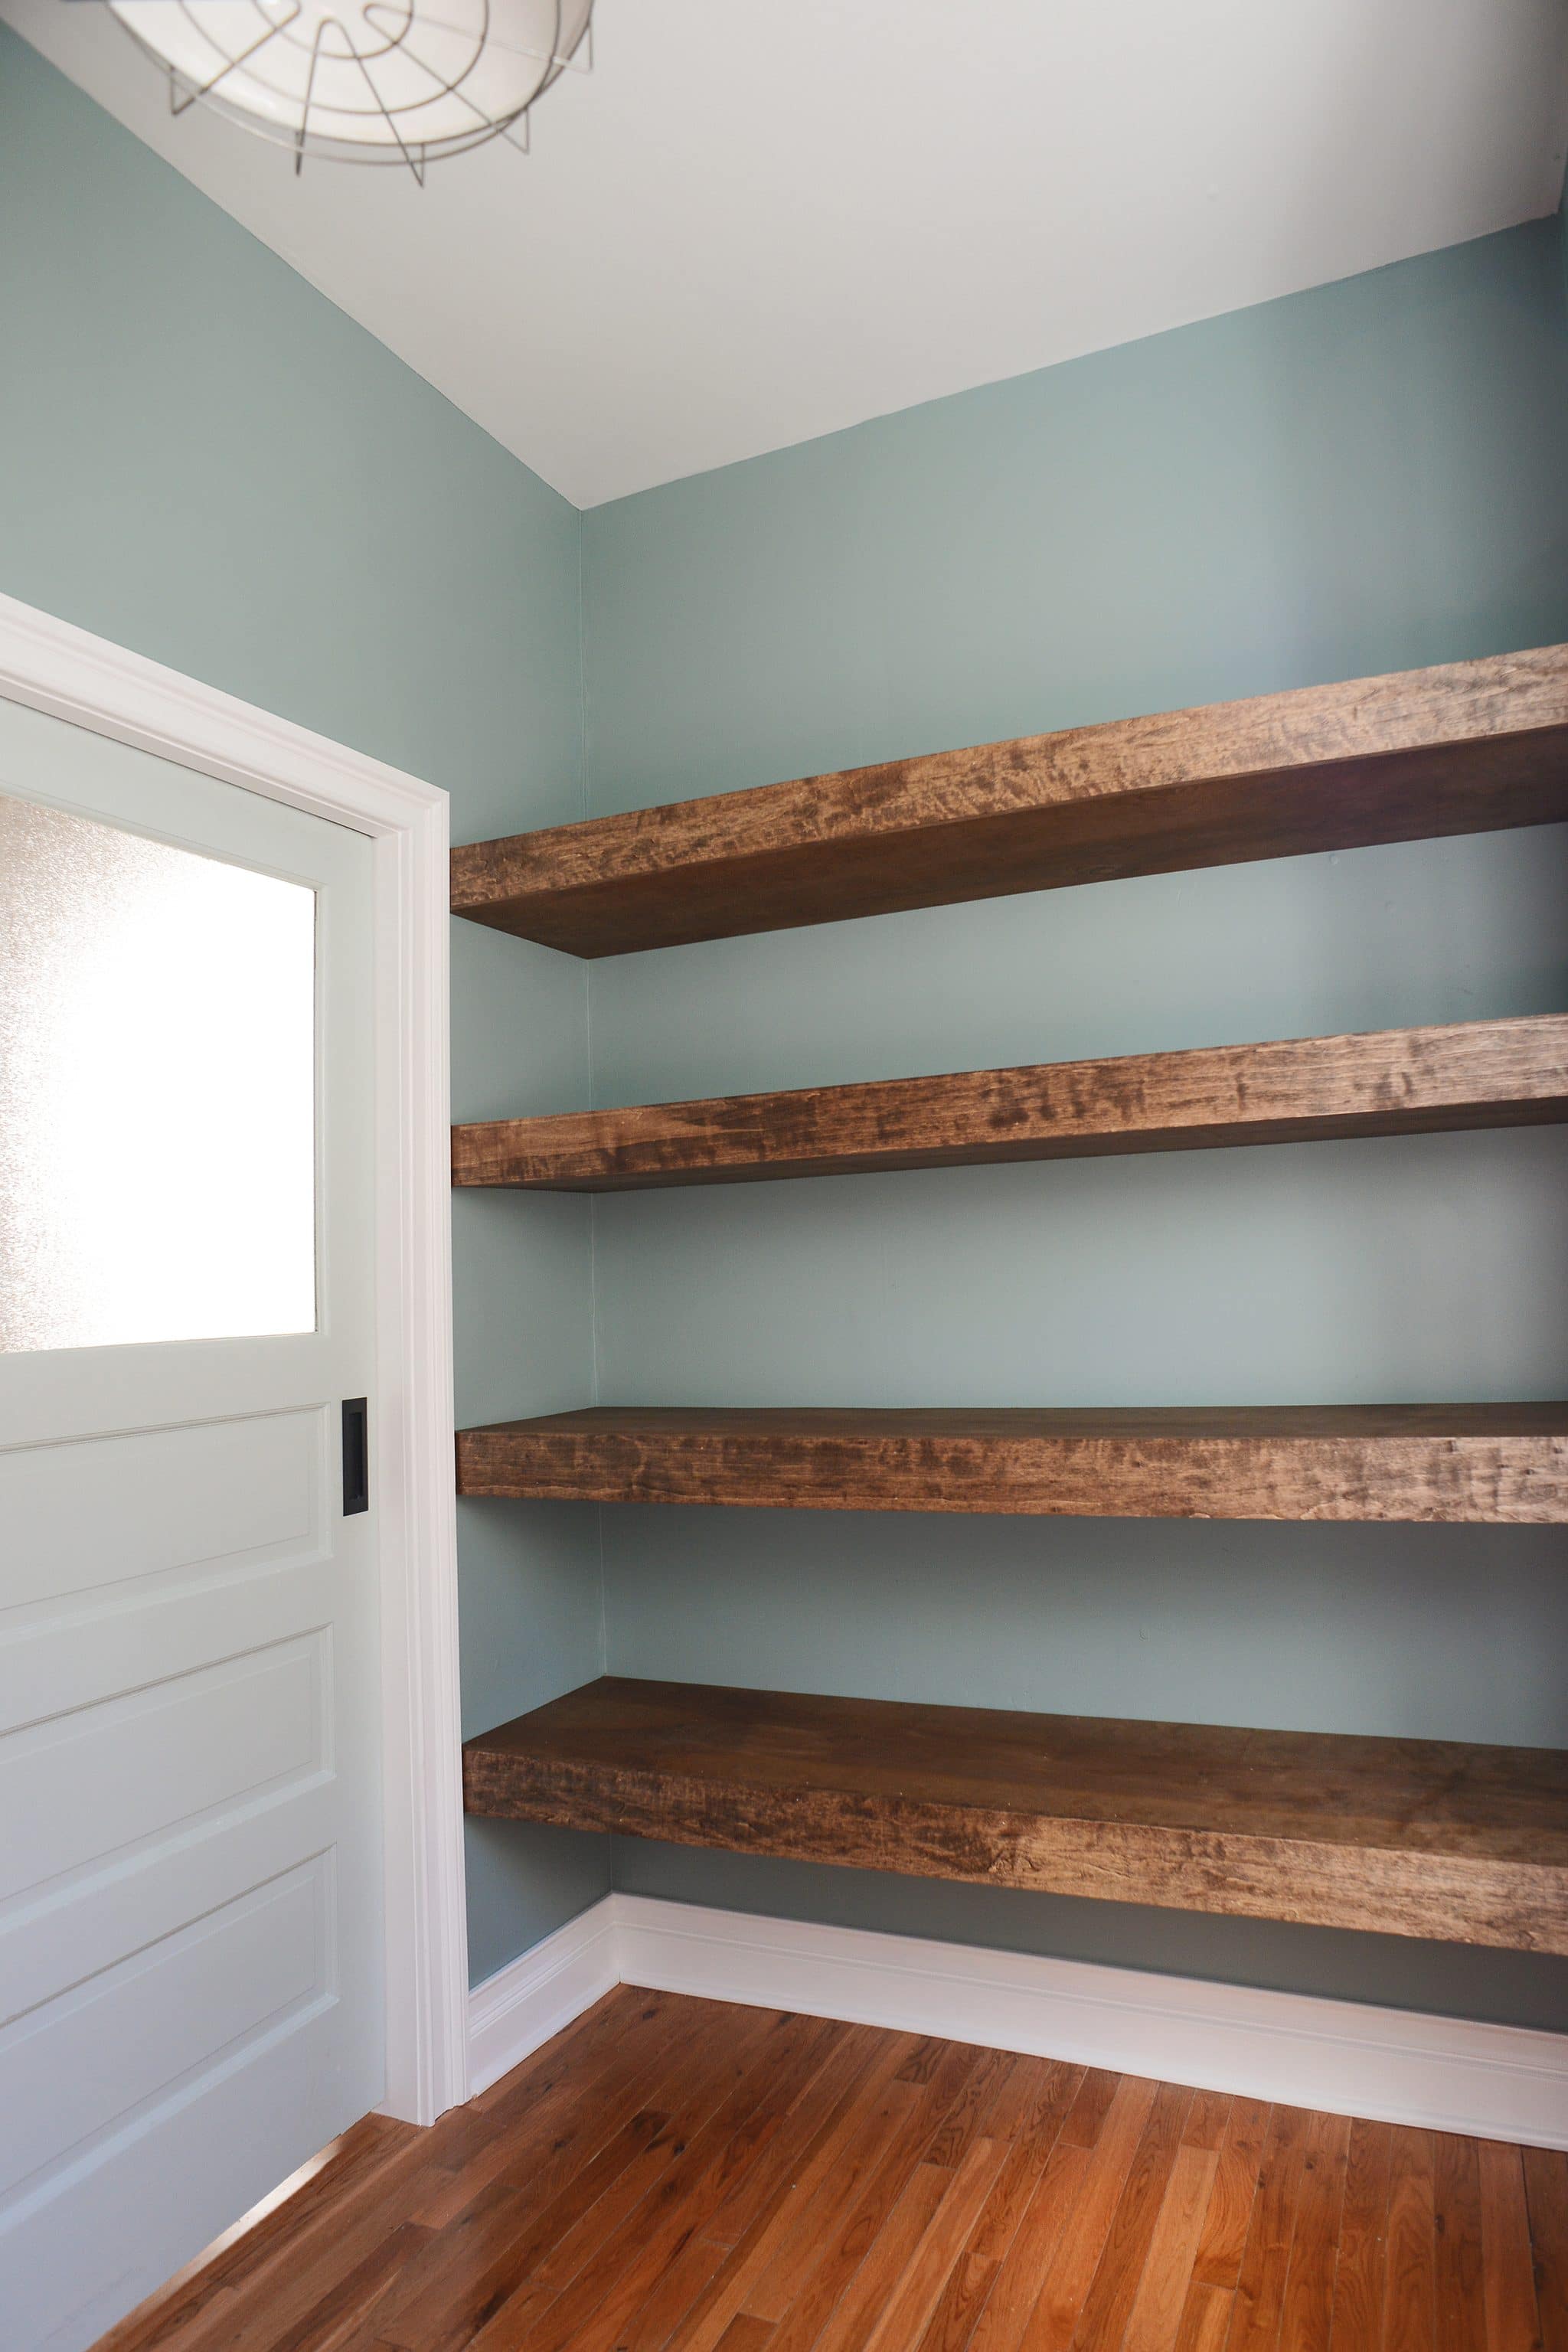
Thick floating shelves are a chic and practical addition to any home. They offer a clean, modern look while providing extra storage space. Creating these shelves may seem daunting, but it’s a project you can tackle with confidence. In this article, we’ll guide you through the process of making your own thick floating shelves. We’ll cover every step, from materials to installation.
Materials and Tools Needed
- Wood planks (size depends on desired shelf length and thickness)
- Stud finder
- Level
- Drill
- Screws and anchors
- Brackets (floating shelf brackets)
- Wood glue
- Sander or sandpaper
- Paint or stain (optional)
- Saw (if cutting wood to size)
- Tape measure
- Screwdriver
Step 1: Choose Your Wood
The first step is to choose the right wood. You want something sturdy that can hold weight. Think about the look you want too. Do you like dark wood or something lighter? Remember, you can always paint or stain the wood later.
Step 2: Cut Your Wood to Size
If your wood planks are not the right size, you need to cut them. Measure the space where your shelf will go. Mark the measurements on your wood. Use a saw to cut the wood to the right length.
Step 3: Sand the Wood
Once your wood is the right size, you need to sand it. This will make it smooth. Use a sander or sandpaper to do this. Be sure to sand the edges too. They should be smooth to the touch.
Step 4: Stain or Paint (Optional)
If you want to stain or paint your wood, now is the time. Choose a stain or paint that matches your decor. Apply it to the wood. Let it dry completely before moving to the next step.
Step 5: Locate the Studs
Shelves need support to hold weight. Use a stud finder to locate the studs in your wall. This is where you will attach your brackets.
Step 6: Install the Brackets
Now, install the brackets. Hold the bracket against the wall at the right height. Use a level to make sure it’s straight. Mark the holes with a pencil. Drill holes into the studs. Screw the brackets into the wall. Make sure they’re secure.
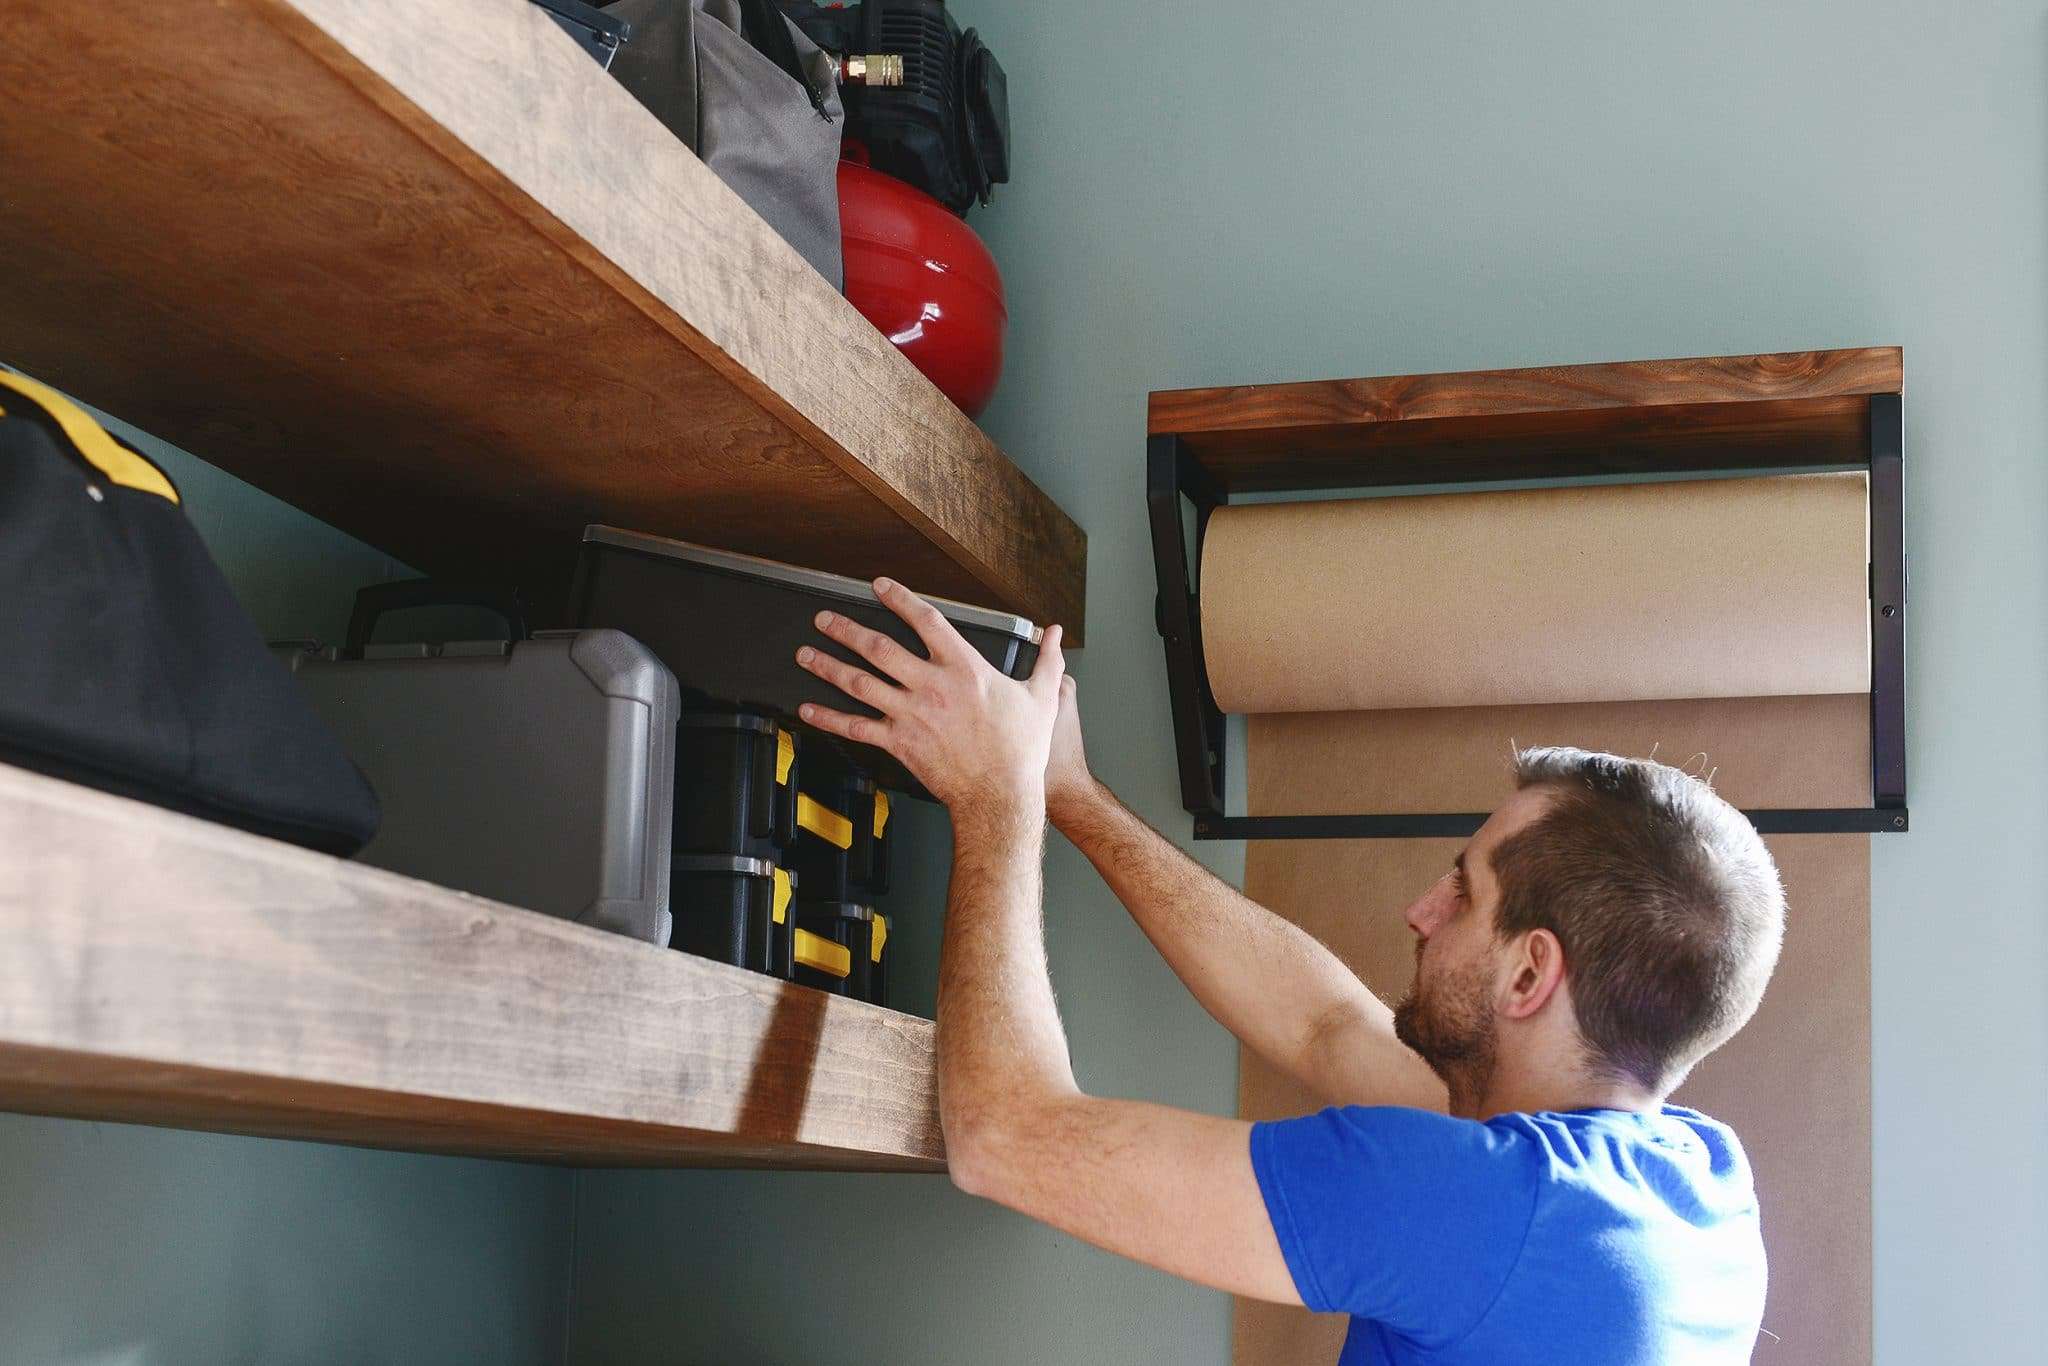
Step 7: Attach the Wood to the Brackets
Place your wood plank onto the brackets. Make sure it is centered. Use a drill to attach the wood to the brackets. You might need someone to help you hold the shelf.
Step 8: Add Wood Glue for Extra Support
For extra strength, add wood glue. Apply glue to the top of the brackets. Then, place the wood on top. The glue will help hold the shelf in place.
Step 9: Final Touches
Look at your shelf. Make sure it is straight and secure. If you have any gaps between the shelf and wall, fill them in. You can use wood filler for this. Let it dry and then touch up with paint or stain.

Frequently Asked Questions
What Materials Are Needed For Floating Shelves?
High-quality wood, sturdy brackets, screws, wall anchors, and tools like a drill and saw are essential materials for thick floating shelves.
Can Floating Shelves Hold Much Weight?
Yes, with proper installation and support, thick floating shelves can hold significant weight, making them practical for heavy items.
How Are Floating Shelves Installed?
Floating shelves are installed by securely mounting brackets to the wall and attaching the shelf to these brackets, ensuring a flush, floating appearance.
What Tools Do I Need To Make Floating Shelves?
To make floating shelves, you will need a saw, drill, level, screwdriver, tape measure, and possibly a stud finder for a successful installation.
Conclusion
You’ve now made a thick floating shelf! It’s a great way to add style and storage to your home. Remember, take your time and be precise. Good luck with your DIY project!
| Step | Task | Tools/Materials |
|---|---|---|
| 1 | Choose Wood | Wood Planks |
| 2 | Cut Wood to Size | Saw, Tape Measure |
| 3 | Sand the Wood | Sander, Sandpaper |
| 4 | Stain or Paint | Stain/Paint, Brushes |
| 5 | Locate the Studs | Stud Finder |
| 6 | Install the Brackets | Brackets, Drill, Screws, Level |
| 7 | Attach Wood to Brackets | Drill, Screws |
| 8 | Add Wood Glue | Wood Glue |
| 9 | Final Touches | Wood Filler, Paint/Stain |