7 DIY Projects to Tackle Yourself (Without Calling Dad)

You’ve saved up, bought a house, and finally fled the nest. But before you get too excited about having your own space, there’s one final thing you’ll need to do: grow up and learn some DIY!
It’s common for younger people to rely heavily on mums and dads when it comes to DIY and home improvements. But now they’re not on hand to fix your issues, it’s about time you started learning some basic DIY skills. If you’re ready to embark on a DIY journey, here are 7 simple DIY tasks you can try all by yourself to get started.
Change a lightbulb
Starting nice and easy, you’ll need to know what to do when a lightbulb dies in your new home. This one definitely isn’t worth a phone call to your parents but fortunately, it doesn’t get much easier than changing a lightbulb.
With that said, there are a few safety precautions to take. Firstly, turn off the power and, if changing a bulb in a lamp, unplug the lamp at the wall. If the light has been turned on for a long time, let the bulb cool down before attempting to change the bulb.
Other than that, all you’ll need to do is unscrew and remove the old bulb, before replacing with the new bulb which should just twist into place.
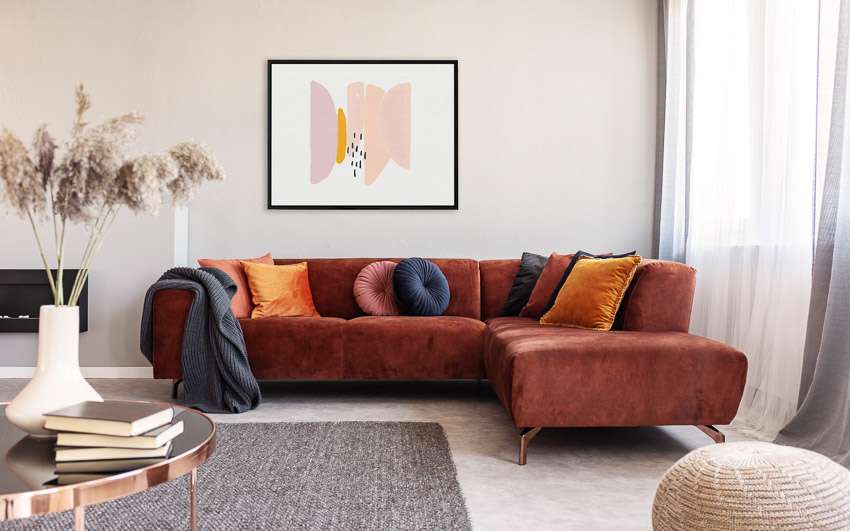
Hang a picture on the wall
When it comes to decorating a new home, you’ll want to add some personal touches to those bare walls. If you’re a first-time homeowner, this might be a task you’ve never had to do before, but it’s another fairly straightforward process that you can pick up with the help of a YouTube tutorial.
When it comes to hanging something on the wall, preparation is key. First, you’ll need to measure out where you want the item to go. Then, you’ll need the right fixings for your wall. Most pictures can be hung with a nail which can be hammered into the wall. Use the picture hook on the back of your picture to hang your picture on the nail.
Bleeding a radiator
This is one of those DIY tasks that sounds more difficult than what it is. It’s recommended you bleed your radiators every few months to keep your boiler running smoothly. While it sounds complex, the process of bleeding your radiator simply refers to the removal of air from within your radiators.
To bleed a radiator, you’ll need the following items:
• Radiator bleed/valve key
• Container or jug
• Towel
• Cloth
Once you’ve identified a radiator that needs bleeding and gathered your tools, follow these steps to bleed your radiator:
- Turn off the heating
- Locate the bleed valve and place your container and towel underneath
- Insert your key into the valve and turn anticlockwise to open the valve
- When water starts to escape, turn the key clockwise to close the valve
Your radiators should warm up as normal when you next turn your heating on.
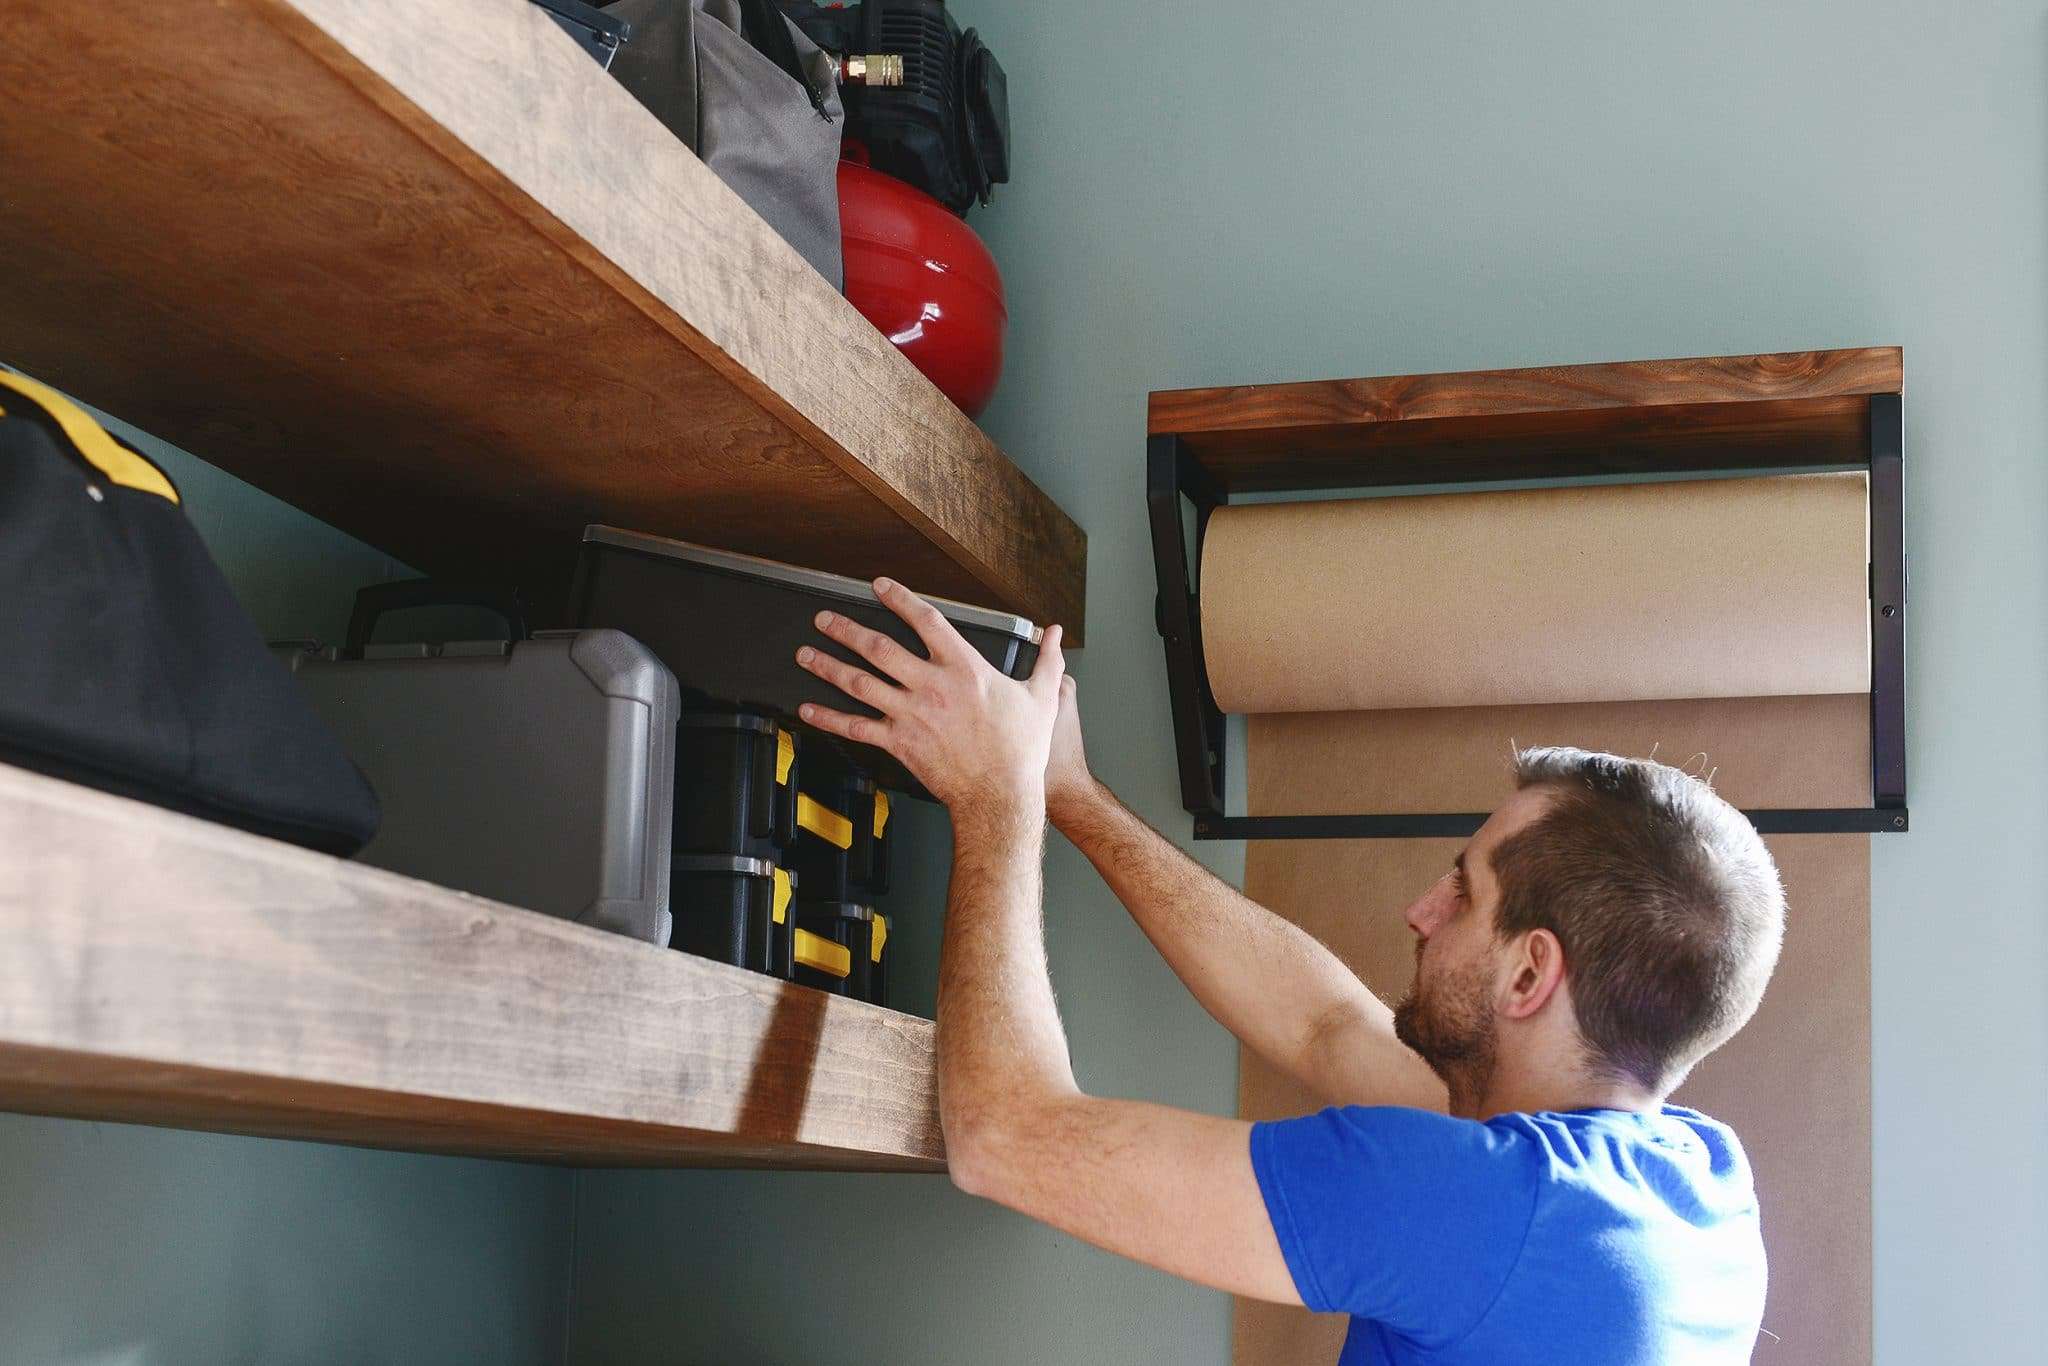
Build a shelf
Shelves are a great way to add extra storage to a living space or kitchen, but if you haven’t put one up before the thought of building a shelf can be slightly intimidating.
The easiest way to tackle this is a simple wall shelf. Get yourself a set of wall brackets and measure out where you want them to go before marking with a pencil. Drill a hole where you’ve marked out, this is where your screws are going to go.
Once you’ve attached your brackets to the wall, simply attach the shelf to your brackets with screws and a screwdriver.
Upcycle garden furniture
Upcycling garden furniture isn’t just a DIY task that will improve your skills, it can also save you money. Most people who move into a new home are working with a budget, and this is a great way to add your own touch without making new purchases.
First, you could inject a new lease of life into old furniture by applying some oil or polish. If you want to add your own touch however, consider a new colour for your garden furniture.
This is a really simple DIY task and one that can’t really go wrong. In fact, the hardest part is choosing a colour!
Fix a draught
One of the first things you’ll want to do after moving into a new home is check for any draughts. Letting in air from outside will leave you sitting in the cold and probably spending more money on heating your home.
Draughts can come from your interior doors, around a front/back door, through window frames, or even through keyholes or letter boxes. If you do identify any chilly spots, this is another DIY challenge you can set yourself.
To eliminate draughts from interior doors, fit some draught-excluding seal around the frame of the door. This can be picked up from any good DIY store. For doors connected to the outside, sometimes a draught excluder cushion can do the job if the draught is coming from underneath the door. A brush strip or weatherproof seal strip may need to be fitted if the draught is more severe.
If your new home has a conservatory, this is a common area where draughts are found. Consider installing some conservatory roof insulation.
Painting a room
If your new home needs a fresh coat of paint in some rooms, you might be tempted to look up a local painter and decorator. But while this will guarantee a quality job, don’t discount doing it yourself to save money.
If you are brave enough to paint your home, ensure all objects and carpets are fully covered. You’ll want to remove as much as possible from the room. To ensure a good job, you’ll want to invest in good quality undercoat, paint, and brushes/rollers.
Work from the top of the wall to the bottom, or follow the W method of applying strokes in a W shape before filling in the gaps.